Painting without Brushes
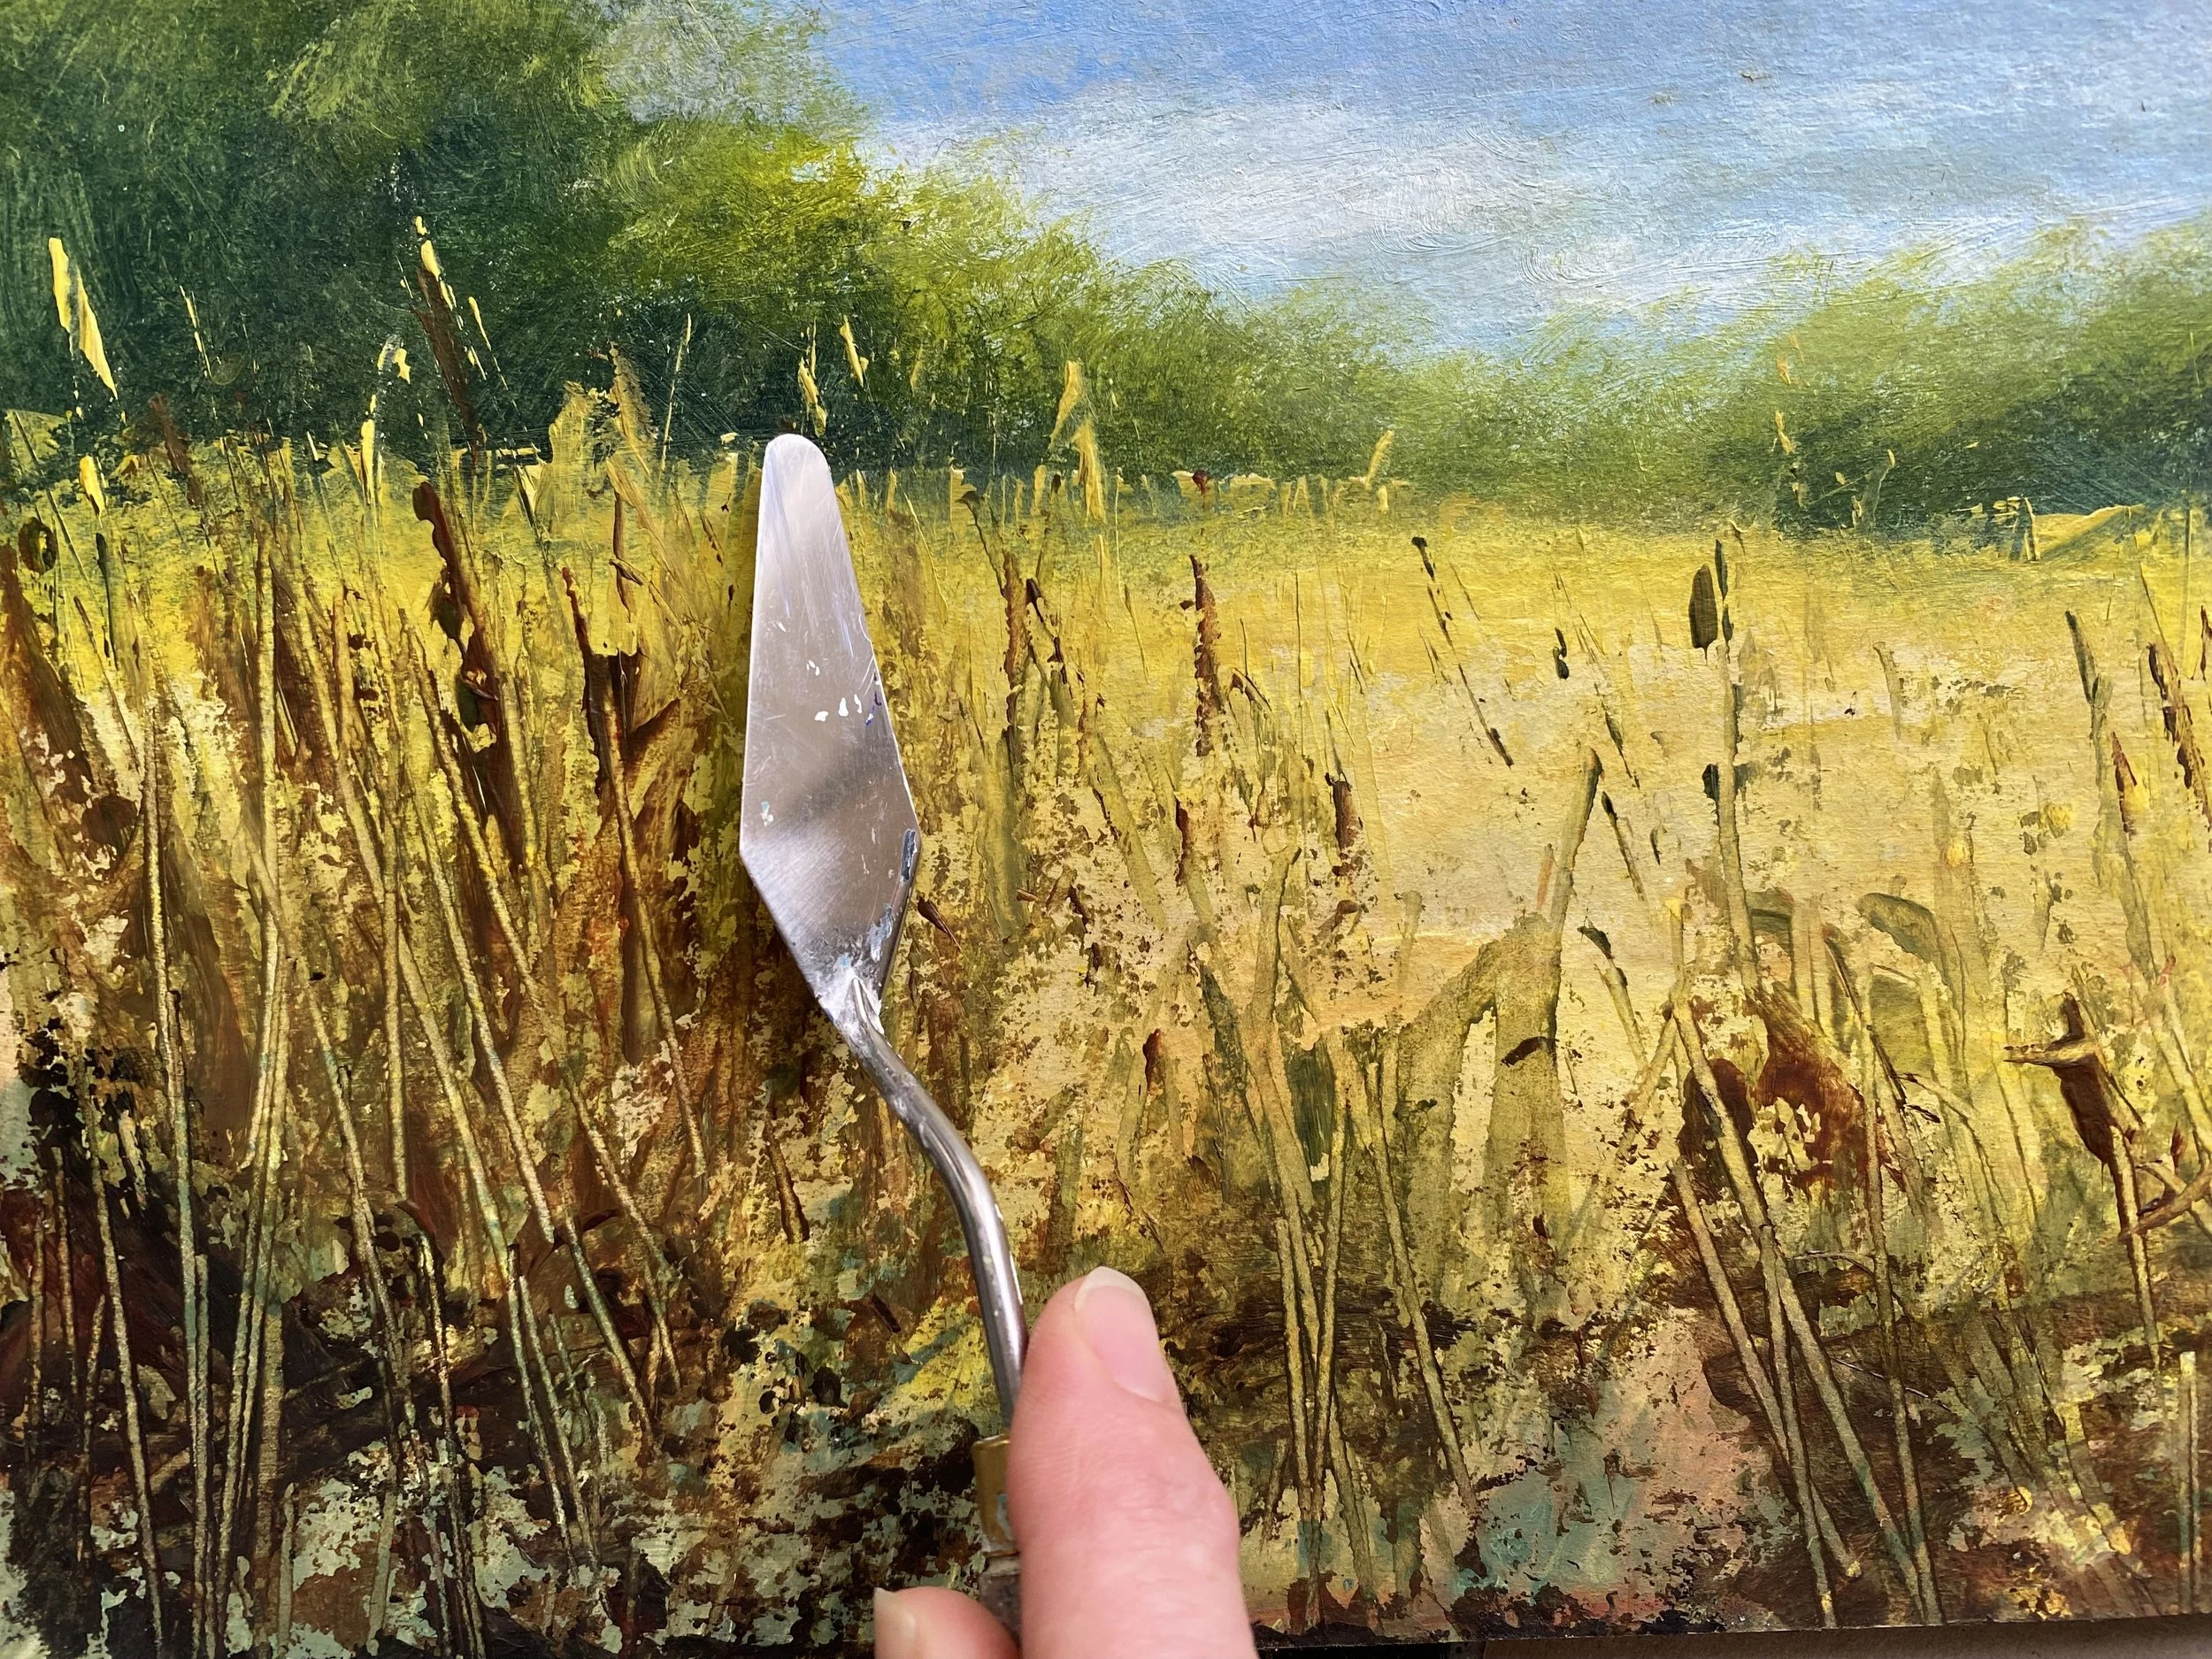
All painting images by Cathryn Jeff
Painting is fun, especially when you begin experimenting with different materials and tools rather than relying solely on traditional brushes. In my opinion, the familiar marks created with brushes can sometimes feel predictable and overly controlled. This is where experimenting with other tools and materials can become exciting, creating unexpected and unpredictable marks and, hopefully, a few ‘happy accidents’ along the way. Of course, brushes still have their place within the artwork, as there are certain marks and details that can be difficult to achieve without them.
Here are some of the main tools I use when applying acrylic and oil paints…
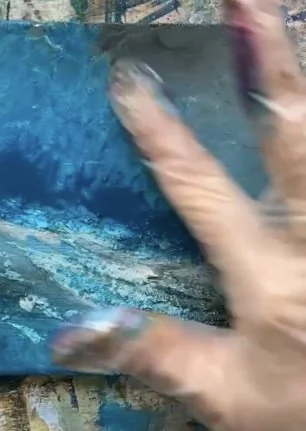
Blending with Fingers
I use the latex or rubber gloves to protect my fingers, not only from the paint, but sometimes I’m rubbing the paint in for a long time, so the gloves give an extra protective barrier. I apply mixed paint directly from my palette to the board or canvas using my fingers or sometimes a wide brush. Then, predominantly using a circular motion, I blend the paint, adding different colours along the way to create a cloudy sky, a sunset, or for general background coverage such as distant foliage for a woodland scene. This technique can work with either a thick, generous amount of paint, or more fluid, slightly watered down paint. I sometimes lightly spray with water to prolong the blending time. Be careful not to over rub the paper or board. A canvas or wood panel is more robust when using this technique. I love this method as you can easily create a misty, atmospheric background very quickly.
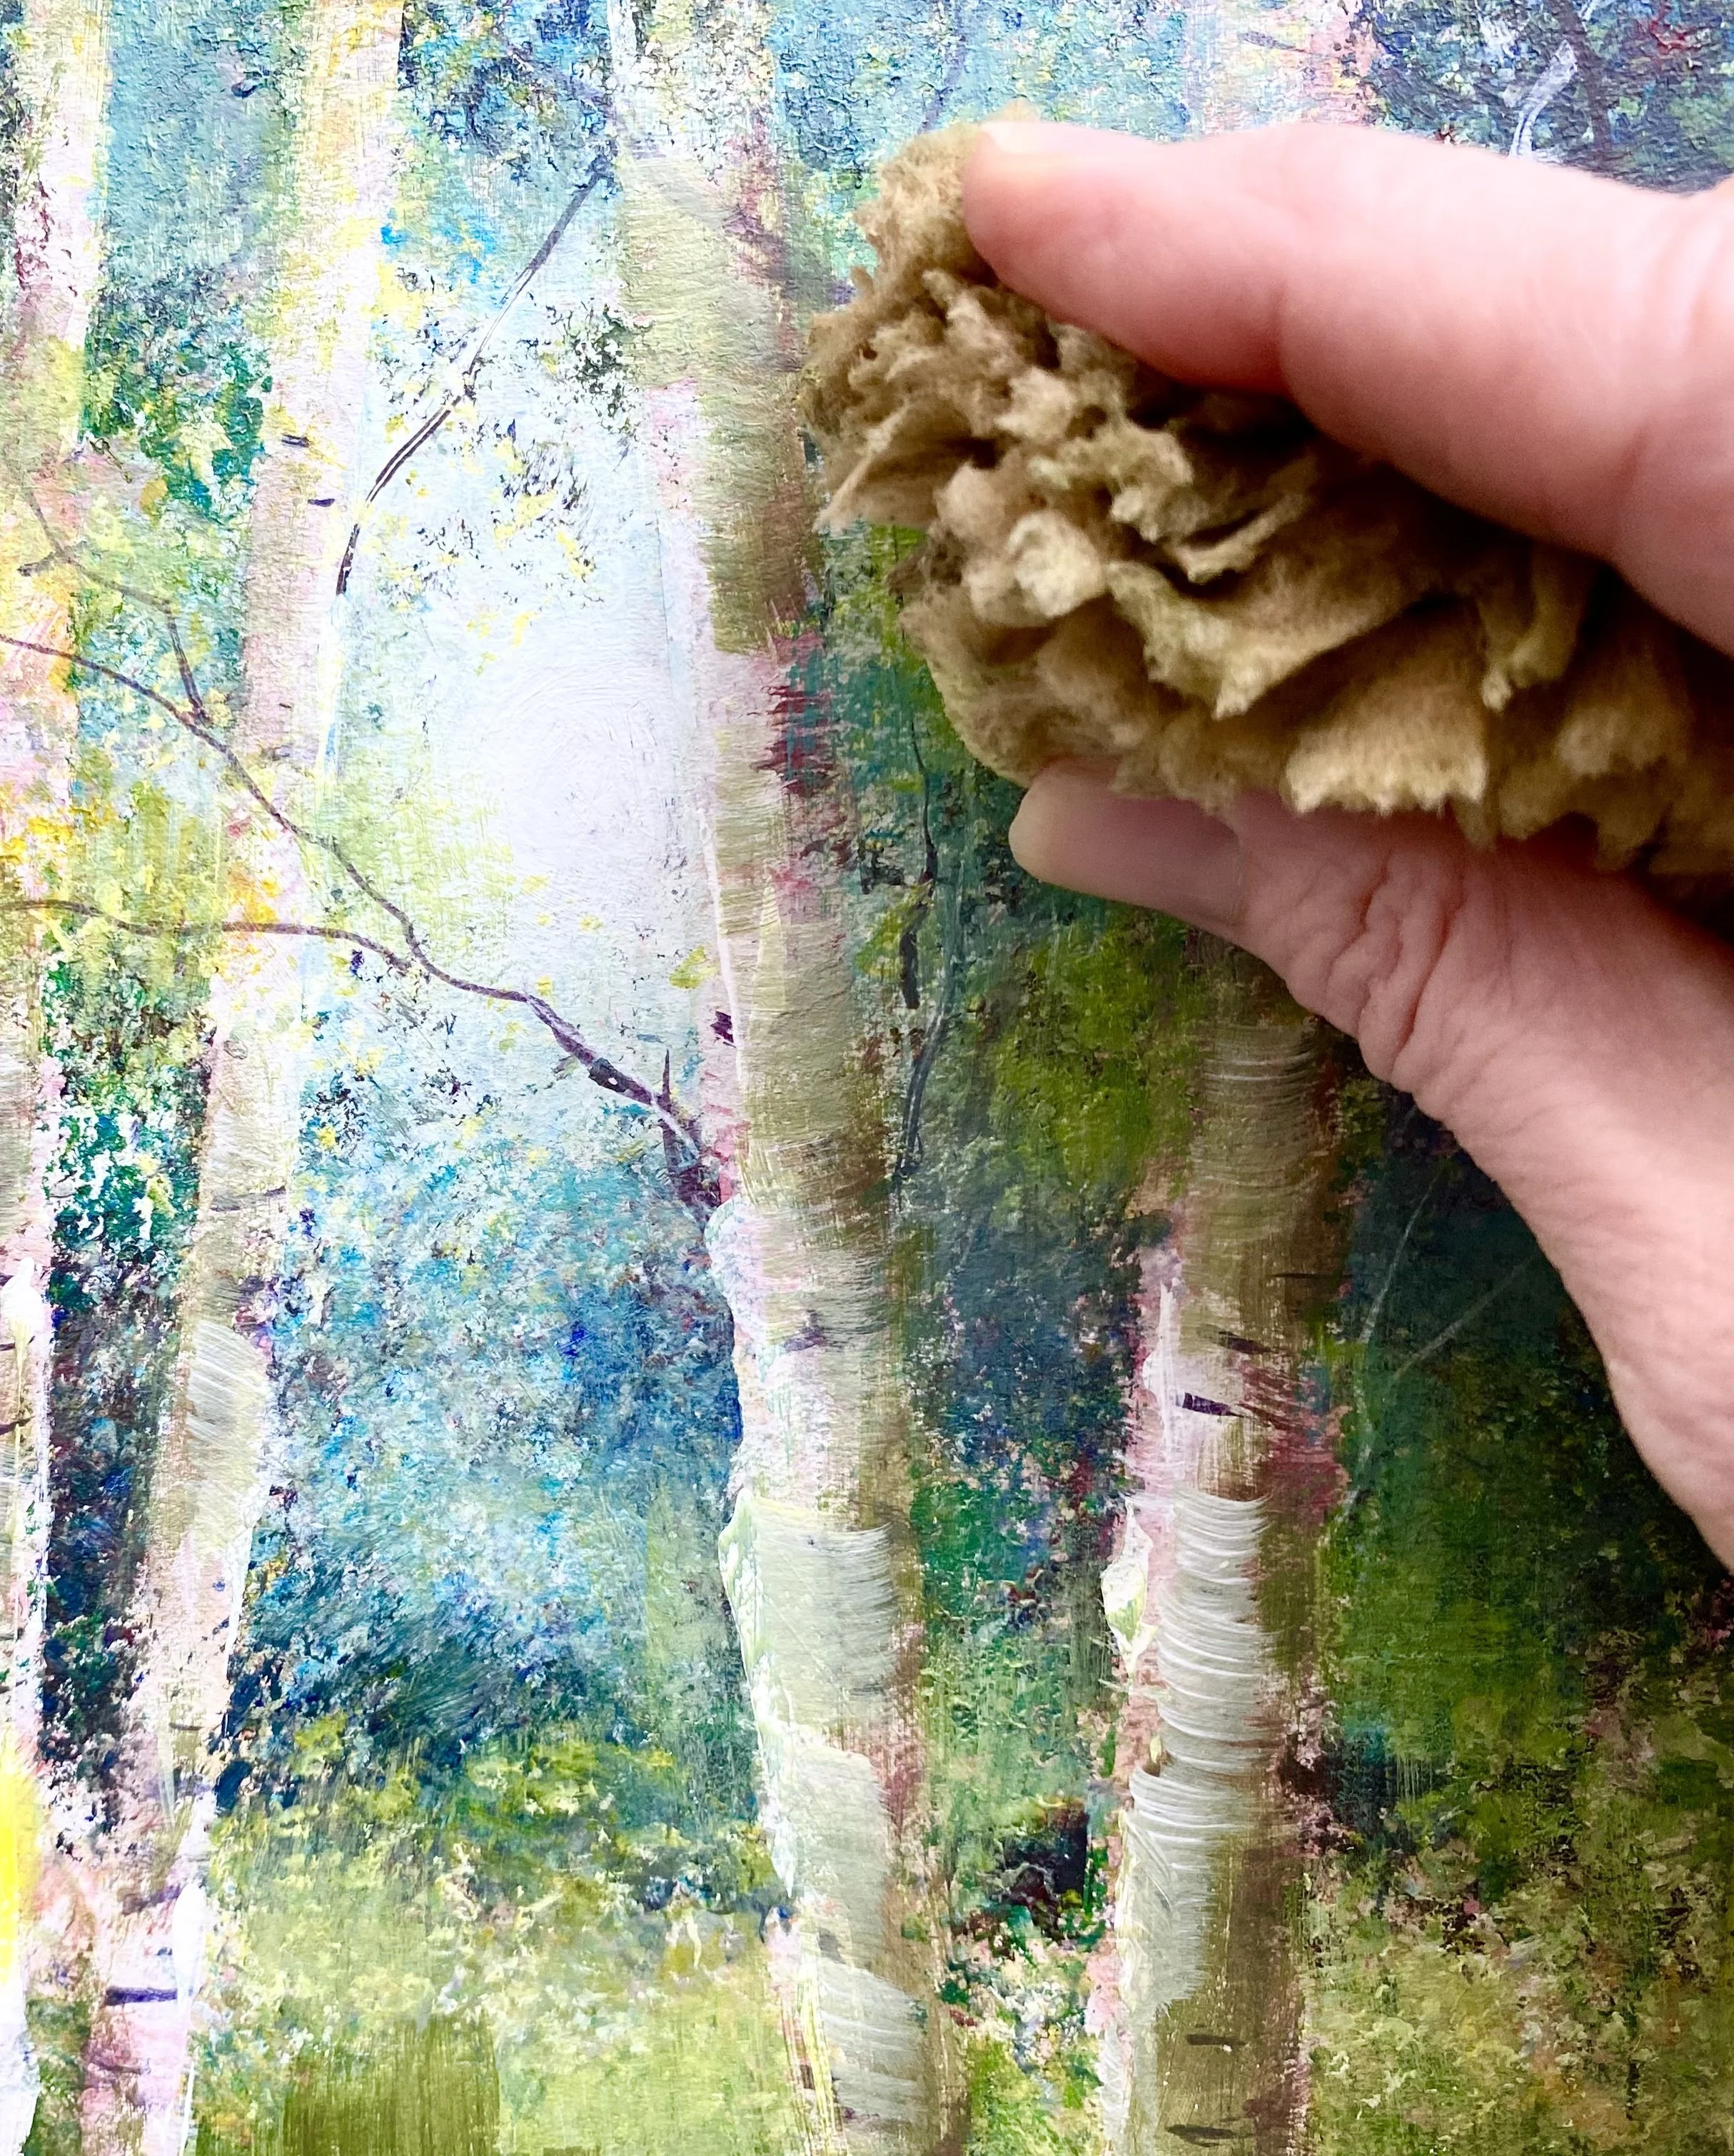
Sponges
The above technique can also be achieved by using a sponge. I find natural sponges better. Use the same circular motion or a swipe of the sponge for different sweeping marks in the sky, sea or field scene. Sponges can also be used to block in areas of foliage detail by dabbing. Perfect for tree canopies. Try a few contrasting colours for added interest and definition. If you notice repeated marks from the sponge’s pattern, try dabbing paint from different areas. Mask sections of your board or canvas with scrap paper while applying dabbed marks to create defined edges such as a horizon line out at sea, the top of a field, or the side of a tree trunk. Pinch the sponge for smaller marks.
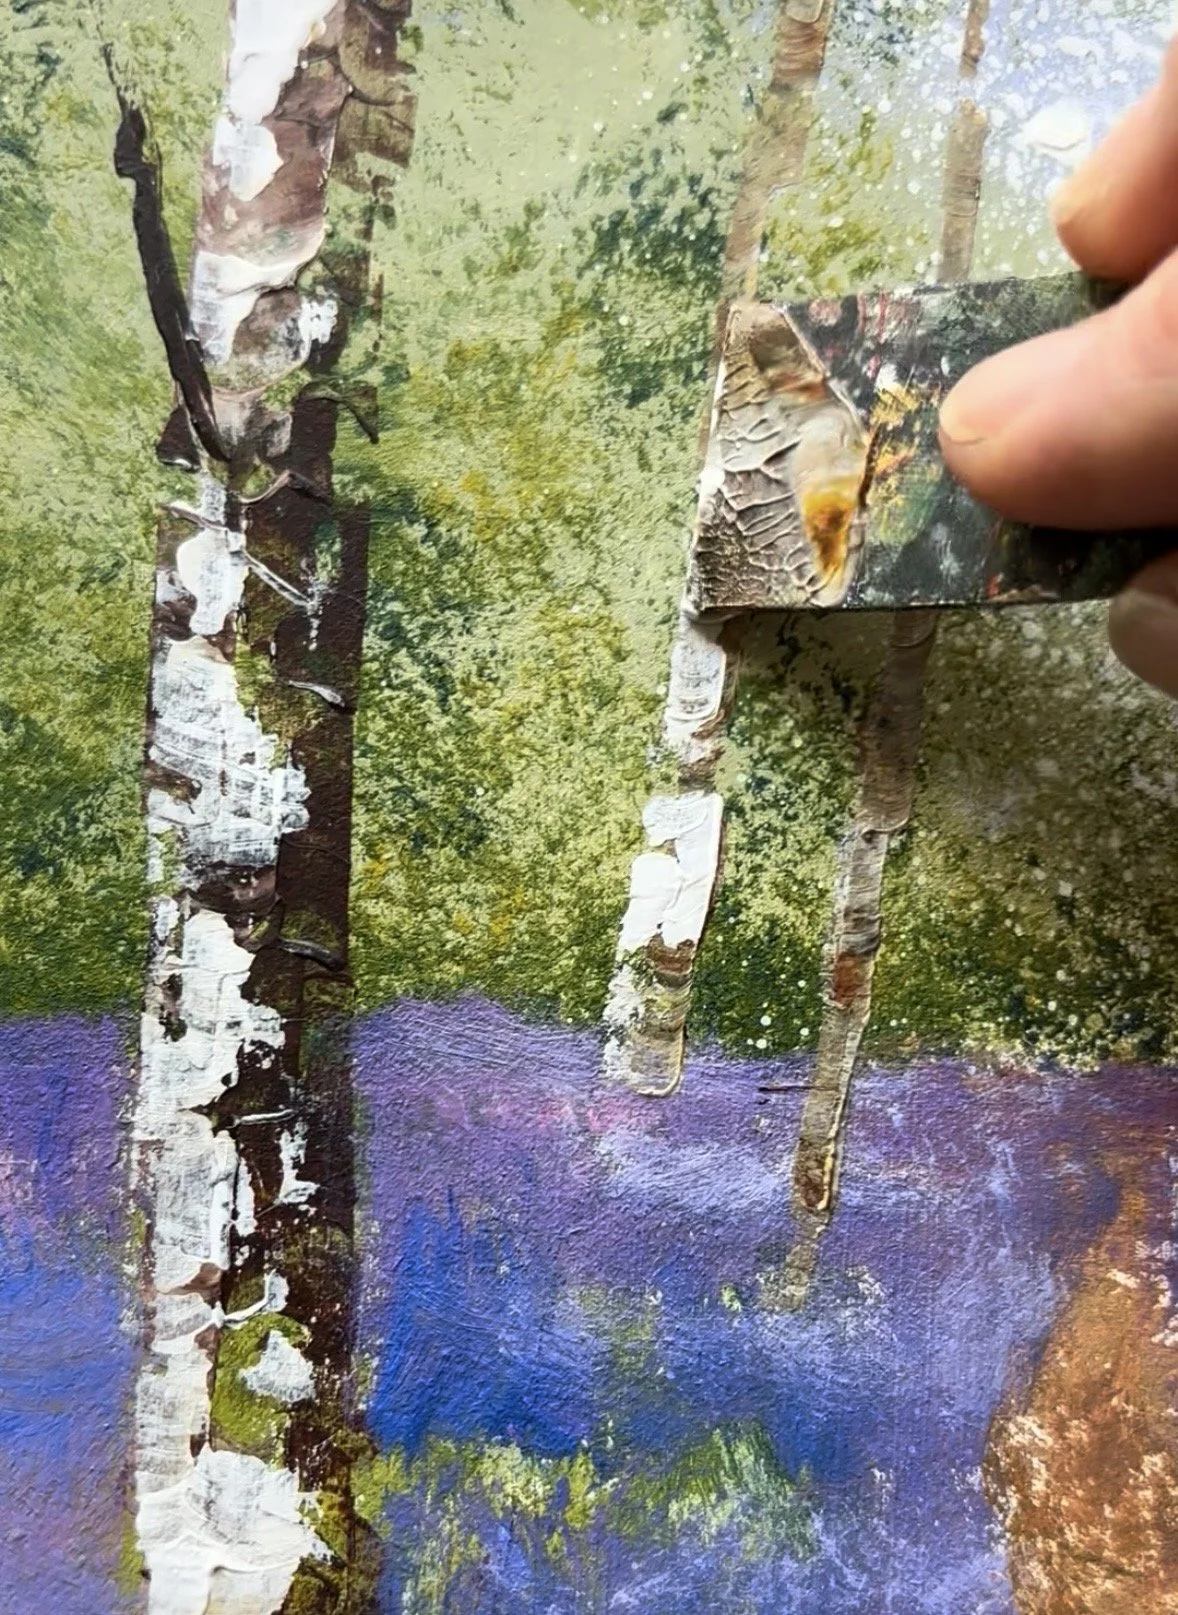
Plastic Card
I love using old cut up pieces of plastic card as they can be used like a palette knife but are easier to control. I use these to dab on single lines for branches, grasses, fence posts and so on. You can scrape on the paint to create wider lines for tree trunks, waves on a shore, rocks, distant headlands, rugged paths, rough ground and so on. Even distant drifts of flowers in a meadow or bluebells in the distance. The gappy appearance of this technique is appealing compared to a traditional solid brush stroke. The overall look is a loose, suggestion of shapes.
Palette Knife
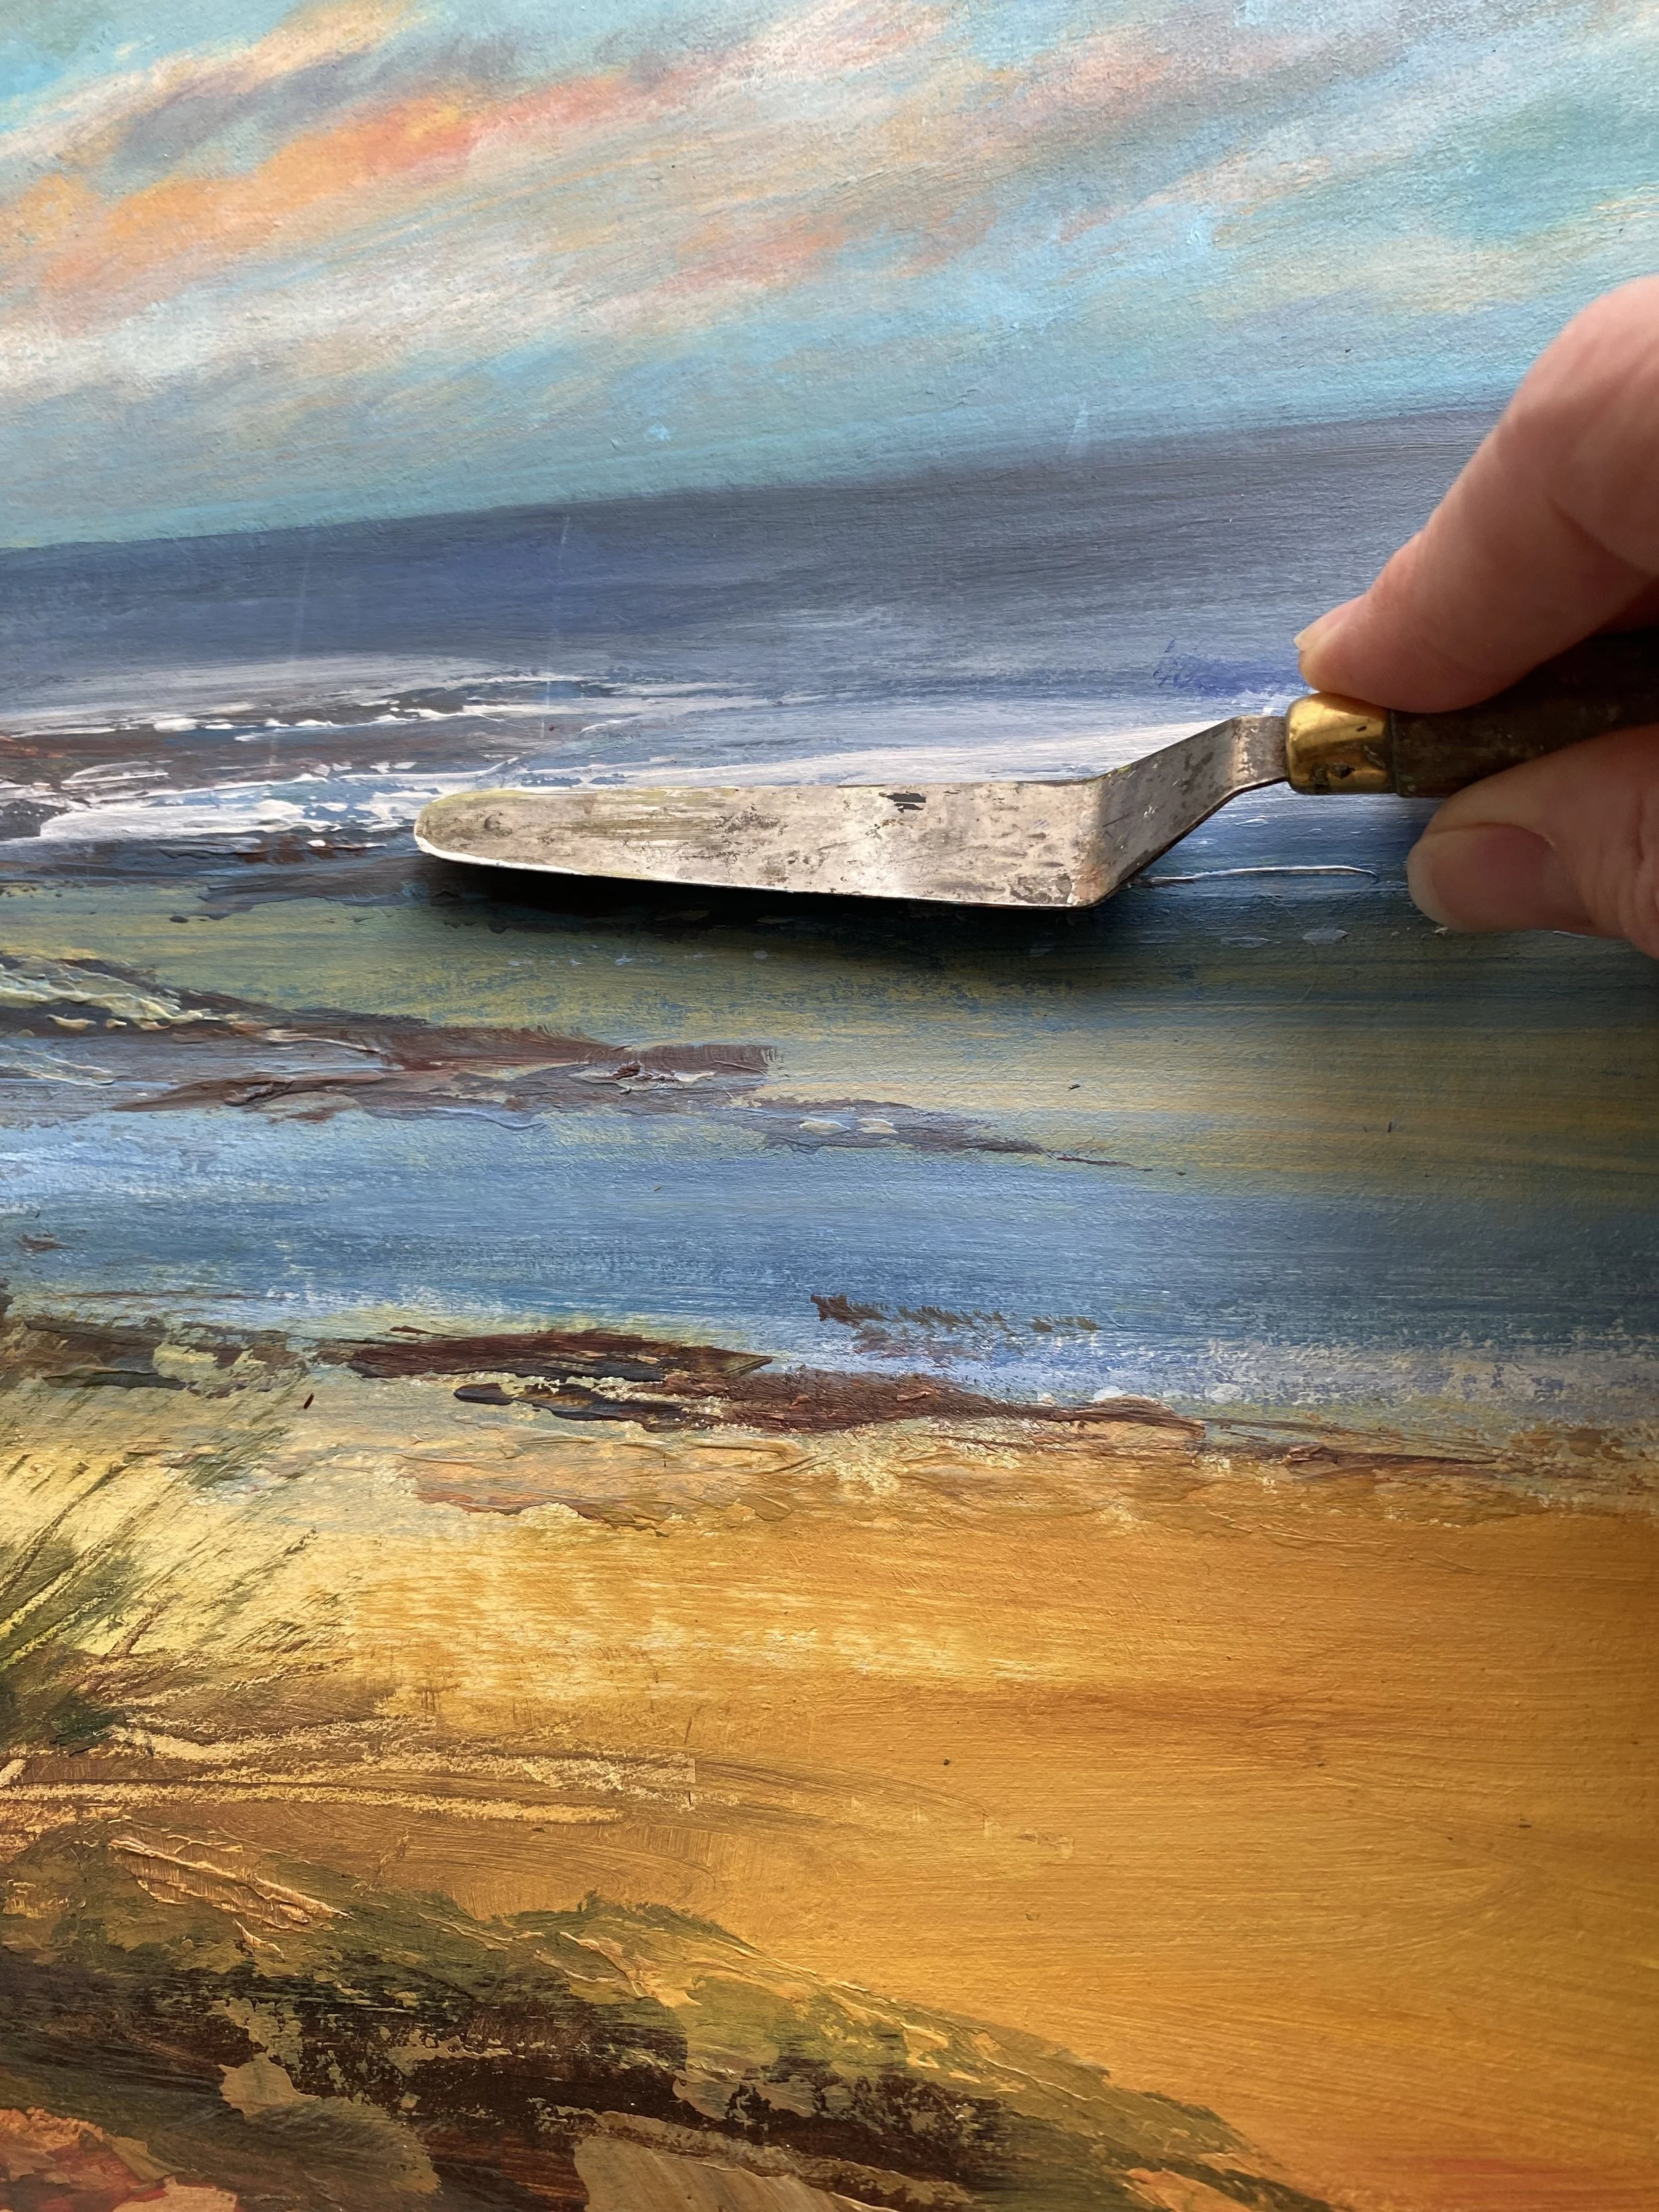
Like the plastic card but used for a slightly different paint application, palette knives can be great for waves, rocks, grasses, suggestions of rough ground and foreground interest such as on a shoreline. They are less easy to control than a plastic card, but thinner lines using thick paint can be applied which you can manipulate by moving the palette knife backwards and forwards across the panel or canvas. I sometimes blur part of the line with my finger too to help blend the mark into the surrounding area. Great for scraping away sections or lines of wet paint too to reveal whats underneath.
Toothbrush Splatters
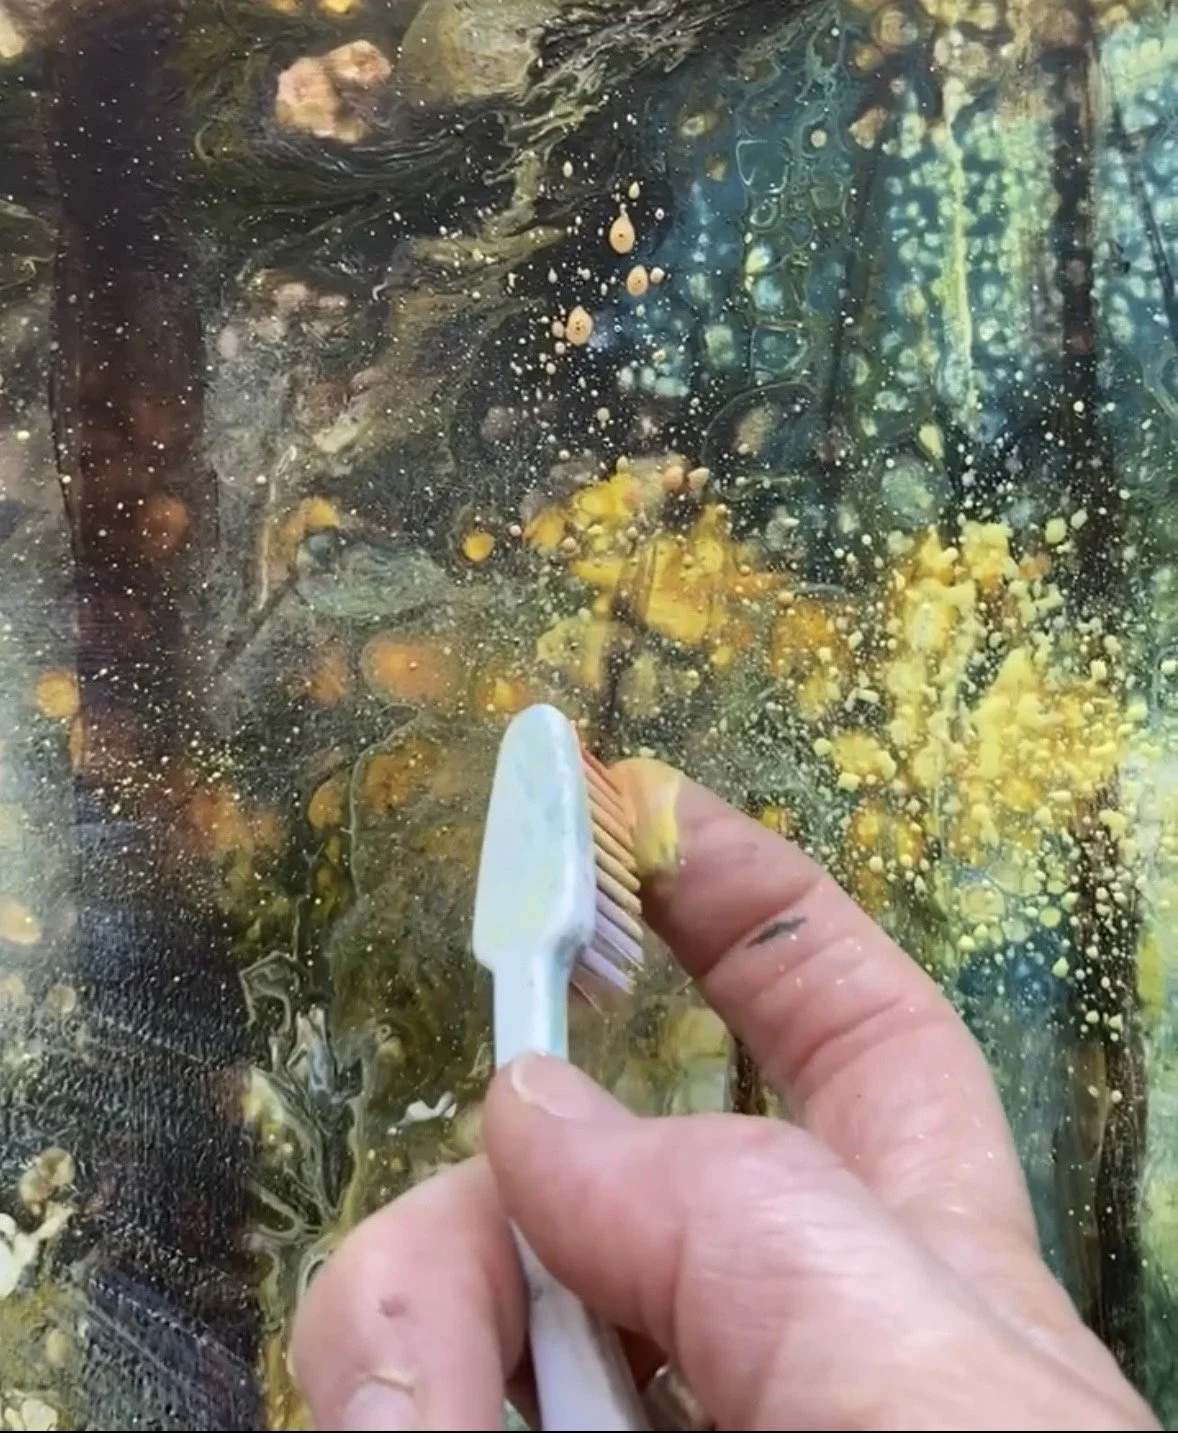
Technically a brush, but not your traditional type! I use a toothbrush for fine splatters to suggest foliage, sea spray on a wave or a flower meadow for example. You need an underpainting first to form a painted layer as you can see between the splatters. Slightly runny paint is needed then stroke the bristles to create the flicked splatter holding the toothbrush head down towards your artwork. Larger splatters can also compliment the fine toothbrush splatters by tapping the toothbrush rather than flicking the bristles. Again, lots of runny fluid paint is needed so the paint is easily released.
Dabbing with a Finger
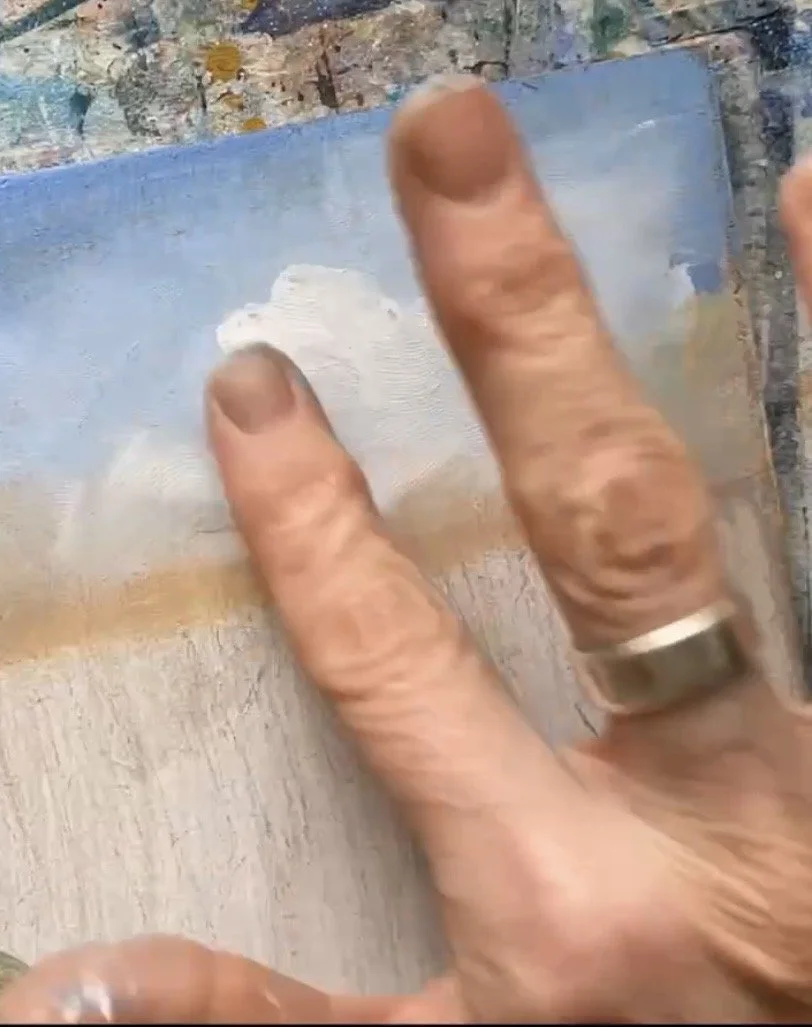
I use the tip of my finger for dabbing thick undiluted paint on to the artwork. Usually for suggestions of clouds or for foreground details to suggest heads of flowers like poppies, dandelion clocks, cow parsley, larger leaves and so on. Adding a few different tones or colours to create interest.
Silicone Wedge
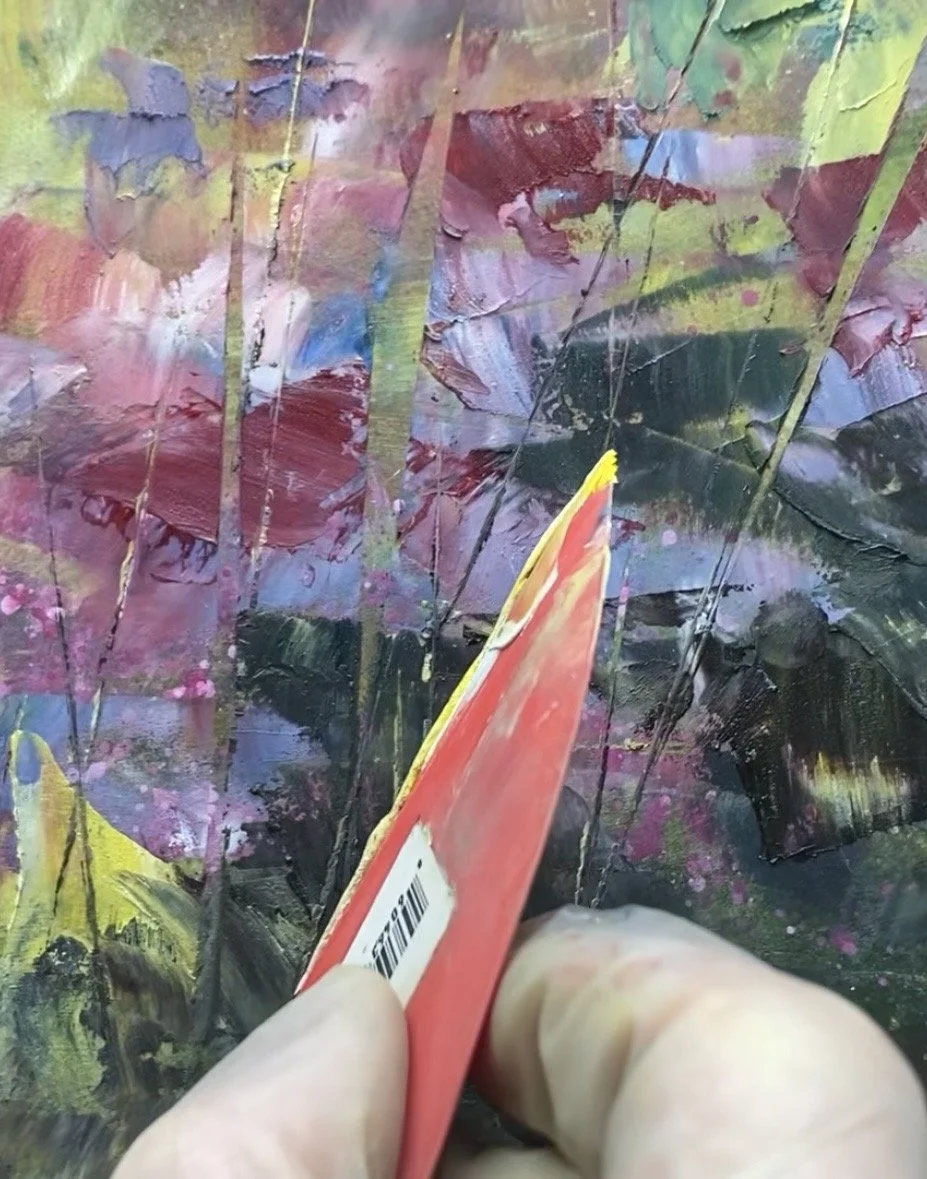
Mainly used with oil paint due to its extended drying time, I use a silicone painting wedge. I find these so versatile for blending different colours together in the background, or creating interesting foreground marks by gouging in to the paint to reveal the colour underneath.
There are so many different shaped tools and materials you can use to manipulate paint, in all shapes and sizes. For example, you could try mini rollers (brayers), combs, sticks, brush handles, pressed leaves for printing, stencils, bubble wrap, scrunched-up materials, or even experiment with spraying and pouring fluid paint. The only real restriction is your imagination!
I often use a variety of these tools and techniques alongside brushes. It really depends on how I’m feeling, what I want to achieve, and the medium I’m working with. I enjoy mixing and matching different approaches and seeing how the paint responds.
I hope this encourages you to experiment with different tools and materials and discover exciting new techniques to develop your painting practice. Don’t be afraid to explore, play, and see what happens — sometimes the most interesting results come from the unexpected. Embrace the unexpected, have fun, and enjoy the process!